Contents
Whirlpooling
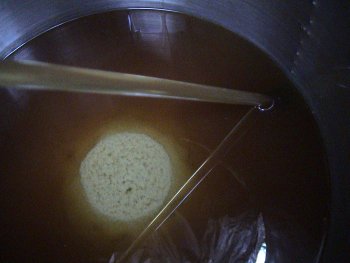
Whirpooling employs 2 methods of seperating the trub from the wort. The first one is sedimentation, which means the trub will sink to the bottom when left alone. The second one is centrifugal force which forces the trub into the center of the pot. If both methods are used, the trub will be collected in a nice trub-cone in the center of the pot. This is the main trub seperation technique that is used in commercial breweries before the wort is chilled. In a home brewing set-up, whirlpooling can be used before or after the wort is chilled. The latter also allows for the partial removal of cold break before the wort is transfered to the fermenter.
Just sedimentation would work to. But since the trub would be evenly spread on the bottom of the pot, you cannot siphon as low as you can if the trub is collected in a cone.
Whirlpooling After Wort Chilling
These are the steps for using whirlpooling after chilling the wort.
Chilling the wort
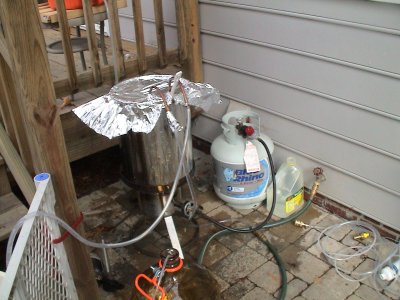
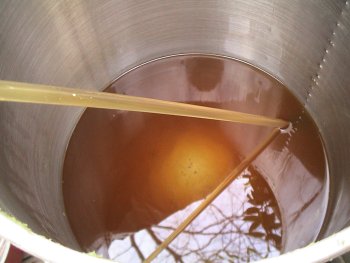
The wort is chilled with an immersion chiller. Note that the spoon has been left in the boil which sanitizes it for later use.
Bring the wort into rotation
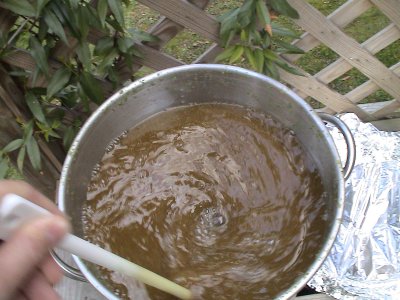
Then the pot is moved into an elevated position. The whirlpool can be started with a sanitized spoon or with an oxynation wand. The latter is very practical since no spoon has to be sanitized and the oxygenation of the wort is already done during the whirlpool. After the whirlpool has been started it must not be moved or distubed in order to allow for an even rotation of the wort.
Rest the wort
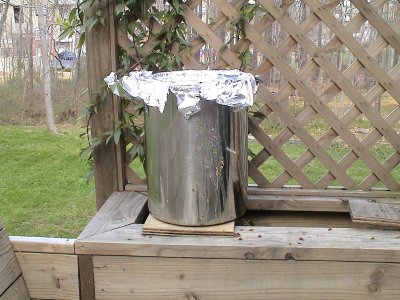
The wort needs to rest for at least 20-30 min. Make sure it is covered. Now is also a good time to sanitize the racking and fermentation equipment.
Rack to the fermenter
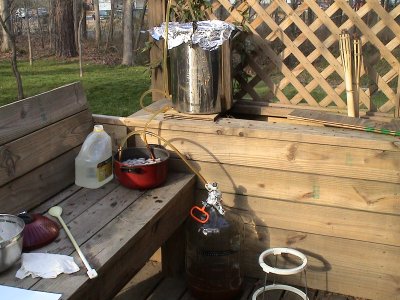
Now that the trub has settled enough the wort can be racked to a fermenter. The set-up shown here is more complicated than necessary as a post chiller has been added to get the wort temperature below 60*F (15*C). This chiller is coiled copper tubing in an ice bath.
When the racking cane is initially put in, it should not reach all the way to the bottom to avoid an early disturbance of the trub cone. As the wort level sinks the end of the racking cane can be lowered further. The siphon can be started with an auto siphon or even simpler with the mouth on a sanitized turkey baster that is quickly removed from the end of the hose as soon as the wort starts flowing.
As the wort level drops
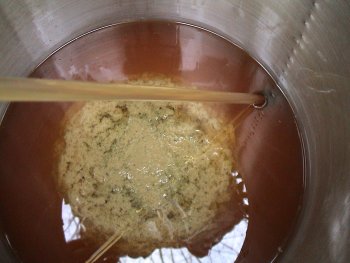
As the wort level reaches the bottom and you peek into the pot you start seeing the top of the trub cone. This cone will slowly spread as the wort level drops further. And when trub starts to be sucked up, it is time to stop the flow.
Collecting the wort from the trub
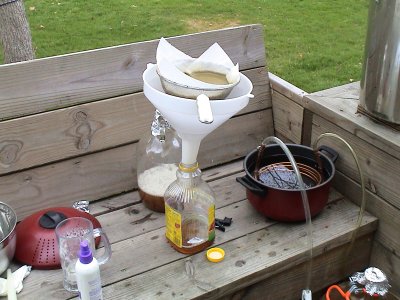
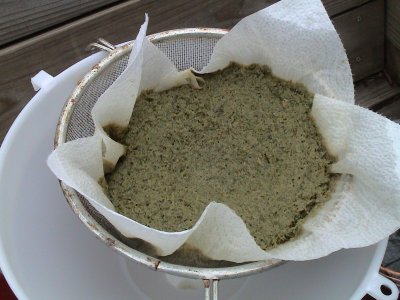
Since there will be a considerable amount of wort left in the trub it makes sense to collect it. If it is not needed for the primary fermentation (e.g. the post boil volume was lager than the volume that goes into the primary fermenter) there is no need to maintain sanitary conditions for this collection. A large funnel and paper towels work very well for filtering the wort from the trub-slush. Keep this wort frozen and use it for future starters or Kraeusening. But make sure it is boiled before use. If you have a pressure canner you can also pressure can the wort in Mason Jars.
This is the left over trub; a mix of hops, hot break and cold break
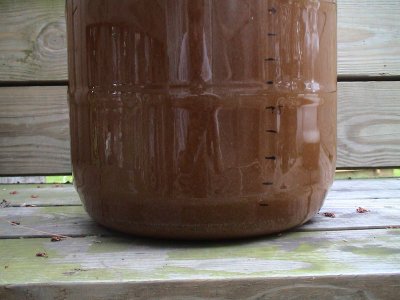
The result
This is the result: very little breal material in the primary fermenter, which will make for easier yeast harvesting and a cleaner beer.

